Setting up the project
Starting a new project is always a mix of excitement and anxiety. The blank slate. Infinite possibilities. But today, we’re not just writing code; we’re building a tool for financial freedom. A system that serves us, tailored to our specific needs, without the bloat of generic SaaS products.
In this first lesson, we will lay the foundation. We are going to build a robust, modern application using strictly typed Laravel 12 and the elegant Filament admin panel.
Let’s get our hands dirty.
1. The Foundation
First, let’s create our canvas. Open your terminal and breathe in that new project smell.
laravel new laravel_filament_personal_financeWe want a clean slate, so when promoted, select:
- No starter kit: We are building this artisan-style.
- Pest: For testing. It’s elegant and expressive.
- SQLite: Simplify the infrastructure. For a personal tool, it’s fast, zero-conf, and easy to backup.
- Init Git repo: Yes. Version control is non-negotiable.
Once the command finishes, navigate into your new fortress:
cd laravel_filament_personal_finance
composer install
Verify that the heart is beating:
php artisan serveVisit http://localhost:8000. You should see the default Laravel splash screen. We are live.
2. Supercharging with AI
I believe in leveraging every tool available to maintain flow. We’ll add Laravel Boost, an MCP server that acts as a bridge between our app and AI agents. Think of it as giving your AI pair programmer direct sensory access to your codebase.
composer require laravel/boost --devInitialize it:
php artisan boost:installWhen prompted, select your IDE or specific configuration. This will generate a configuration block like this (the below one is the Google Antigravity configuration):
{
    "mcpServers": {
        "laravel-boost": {
            "command": "/usr/bin/php",
            "args": [
                "/home/<your-username>/<path-to-project>/artisan",
                "boost:mcp"
            ]
        }
    }
}
Now, your AI assistant can understand your project structure, run artisan commands, and debugging becomes a conversation rather than a struggle.
View the Boost configuration commit
3. The Admin Panel
We don’t want to spend weeks building authentication views and CRUD tables from scratch. We want to focus on the logic of our finances. Enter Filament v5. It’s the gold standard for TALL stack admin panels.
Install it via composer:
composer require filament/filament:"^5.0"Now, install the panel. We’ll call ours admin.
php artisan filament:install --panelsEnter admin when asked for the ID.
This scaffolds the entire admin infrastructure. It’s almost magical how much time this saves us.
View the Filament setup commit
4. First Access
Reference without access is useless. Let’s create an admin user to unlock the gates.
php artisan make:filament-userFollow the prompts to set your name, email, and password. Then, restart your server if it’s not running:
php artisan serveNavigate to /admin. Login with your new credentials.
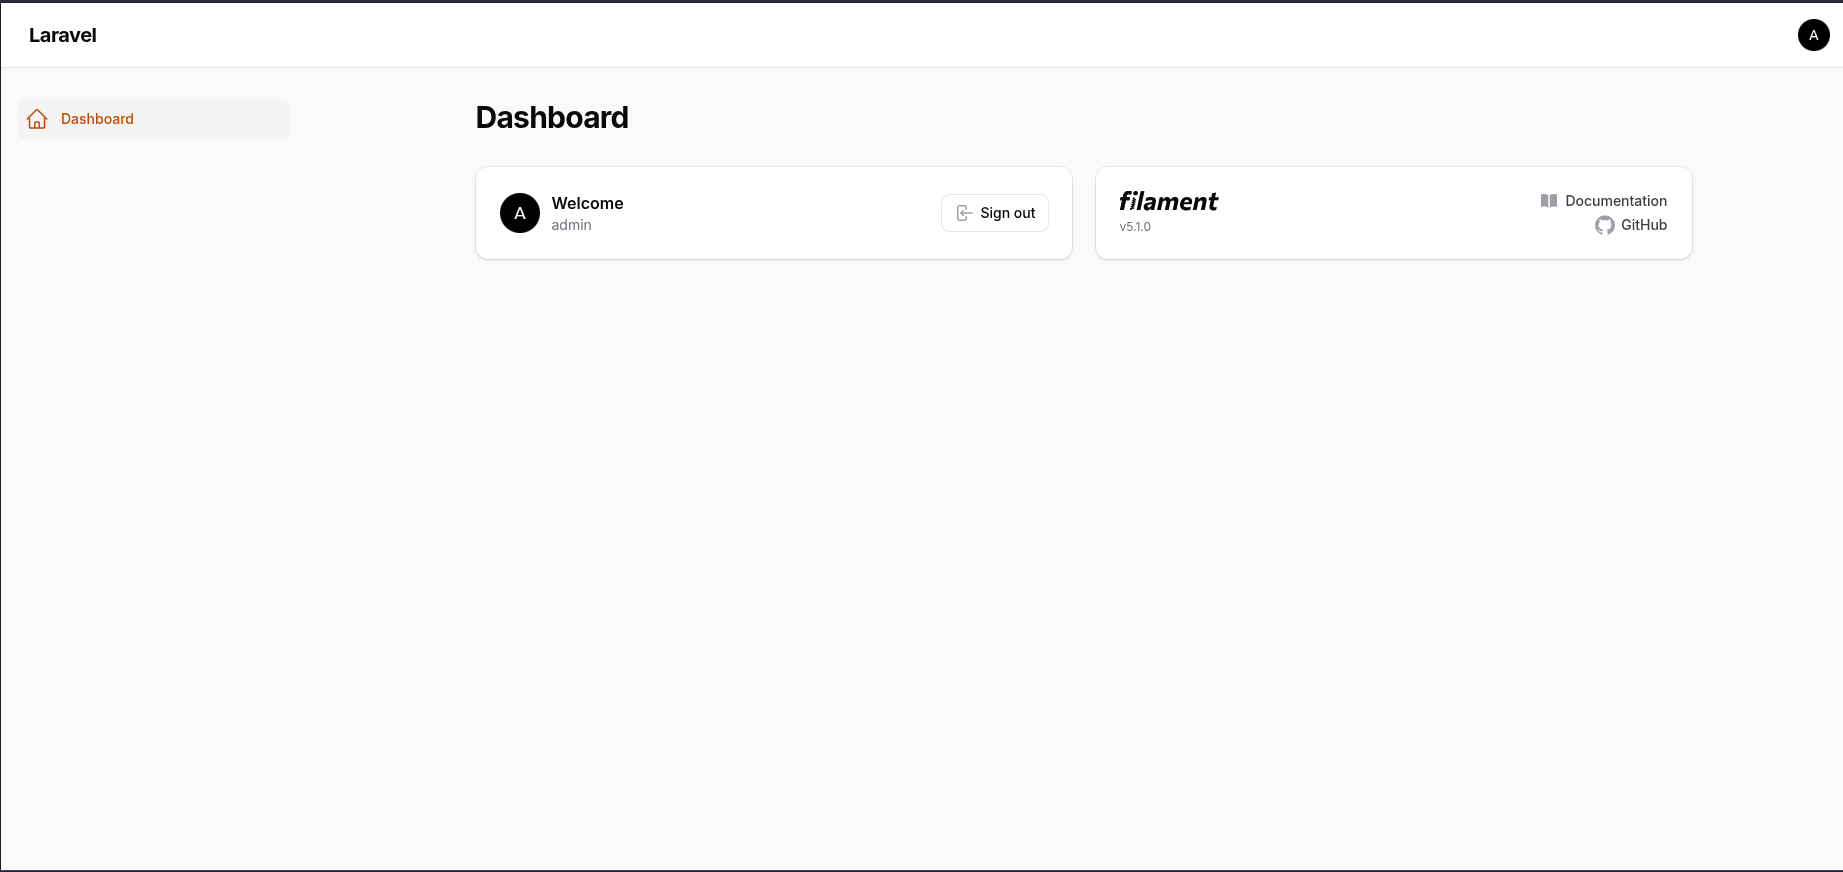
You are now looking at the control center of your future financial system. It’s empty now, but soon it will be the source of truth for your wealth.
We have a running application, a powerful admin interface, and the AI tooling to help us build faster. The structure is set. In the next lesson, we will start modeling the domain.
Happy coding!